Data collection
SmartScope was intially designed for screening. Therefore, there are a few manual interventions steps that should be taken during the process. Setting up data collection in SmartScope is still much faster than using other packages.
General Setup conditions
Here are some initial parameters for a data collection:
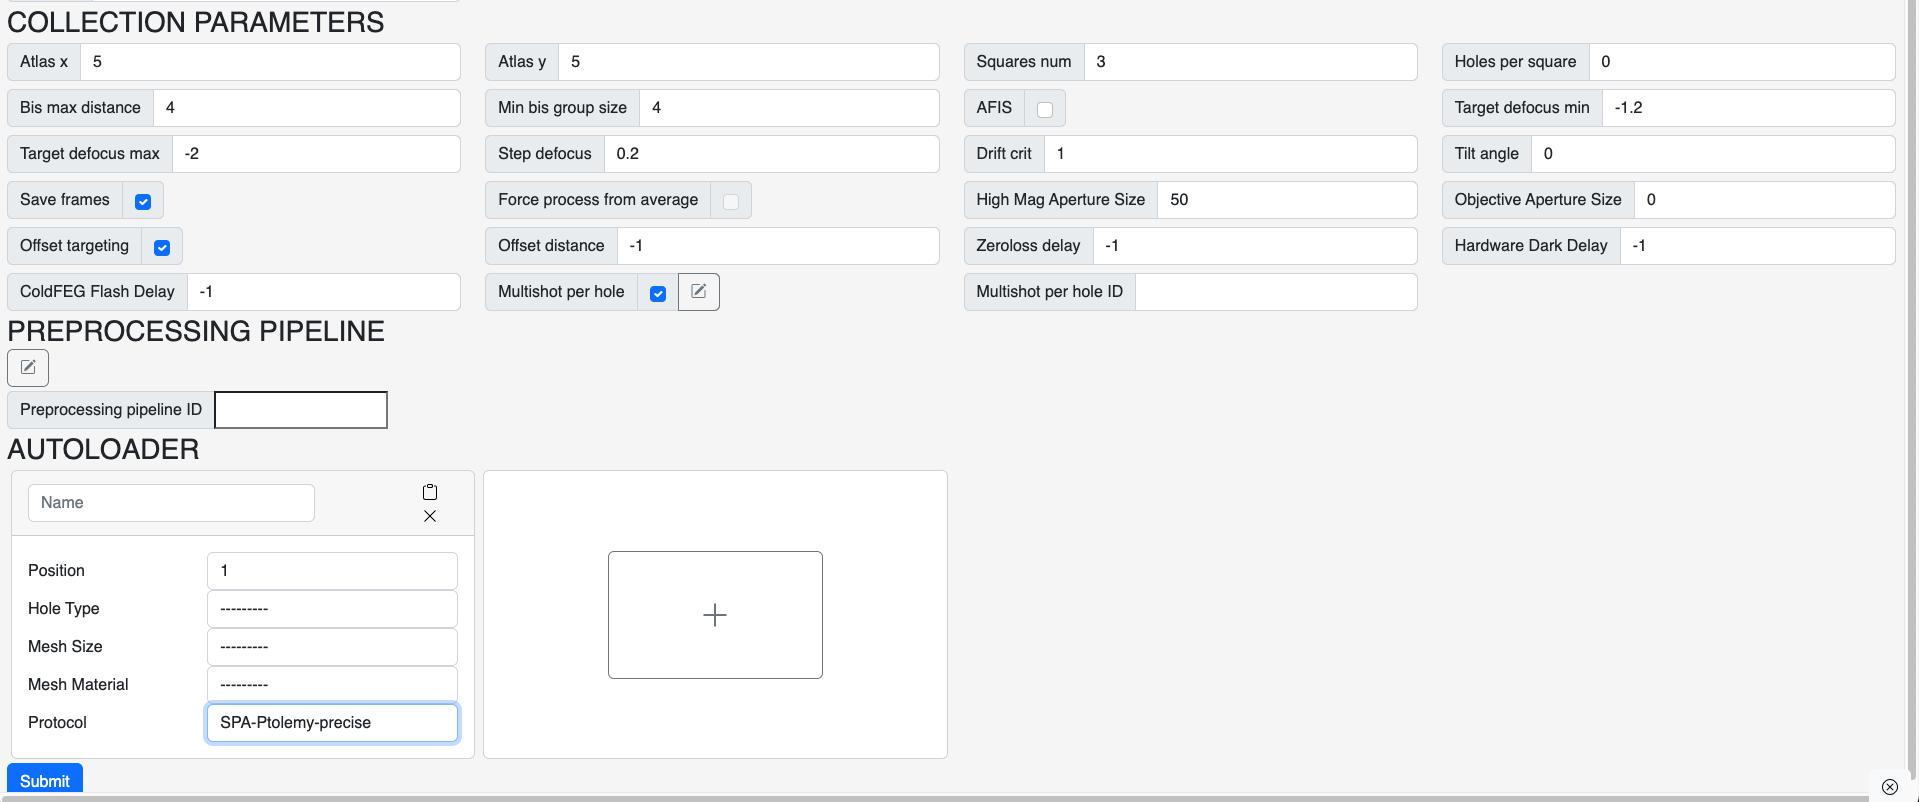
Main parameters to consider:
- Save Frames: Higly important since you want to process the movies!
- Defocus parameters: Choose a range and a step to cycle defocus. Recommended initial values -1 um to -1.8 um with 0.2 um step.
- Holes per square: Should be set to 0 to enable data collection mode
- Multishot per hole: Optional but will increase throughput substancially. Instructions about how to set up multishot per hole here
- Beam-image-shift grouping: This will depend on the microscope calibration for SPA collected without tilt, 7.5um radius with min group size of 9 is a good start. For tilted collection, we recomment 4 um and min group size of 4
Worflow-specific parameters
-
Offset targeting: During collection, Offset Targeting is disabled unless an
Offset Distanceis specified. This allows to collect image that are off-centered from the holes for when particles prefer slightly thicker ice or the ice is simple too thin in the center of the holes. -
Delays: Delays for Recentering the beam, Zeroloss peak or Hardware dark acquisition can be specified depending on the type of hardware present in the microscope or the overall system stability.
Protocol choice
Warning
Please follow the links for unique procedures related to the different protocols.
- We recommend using the
-preciseprotocols for data collection. - For tilted collection, please use SPA-Precise.
- For other collection, SPA-Ptolemy-precise is preferred but SPA-Precise is also a valid option.
Step-by-step guide
- Setup your run based on the above section
- Wait for the atlas to complete
- Pick your squares
- To add square click on any squares that arent numbered that you wish to collect. Then select the
Actionsmenu andAdd to Queue(Last option). - To remove squares, click on the orange squares in the atlas image. Then select the
Actionsmenu andAdd to Queue(Last option). - If the Queue button is Grayed out, click the
Xbutton next to theActionsmenu to clear selection and reselect.
- To add square click on any squares that arent numbered that you wish to collect. Then select the
- Wait for a square to complete its acquisition
-
Click on the square and check if the holes were correctly identified.
-
If it's not satisfactory, it is possible to use the
extend lattice workflowdetailed below to add holes or completely correct the hole picking.-
Ensure some holes next to each others are currently identified. If one square already has good holes picked on any square, this should be enough and you may skip to step vi.
- For all square with the wrong patterns of few holes. Click
All Holes -> Delete Holesin the square menus. - Add 6-9 targets (shift+left click) on holes that are next to each other
- Click
New Targets -> Add targetsto add the positions.
- For all square with the wrong patterns of few holes. Click
-
Ensure there is at least one hole (preferablly 3) on the square (follow instructions in step a. to add holes). Use the
All Holes -> Extend Lattice. The first time this option is used, SmartScope will calculate the angle and spacing of the lattice from existsing holes. Then it will add targets following these parameters over the square. - When you add targets use option
All Holes -> Extend Latticeand then optionNew Targets -> Add Targets. - (Optional)
All Holes -> Regroup BISfollows byAll Holes -> Queue all holes. This can also be done in bulk in step 7. - Repeat steps b.-d. for all squares.
-
-
-
Edit hole selection with the Selector sliders.
- Regroup and reselect after editing the selectors.
- Done!